Showing posts with label renaissance costuming. Show all posts

Tuesday, January 24, 2012

Pleating a Ruff -- Lg fig 8


This is concerning the making of Renaissance/Elizabethan ruffs that are pleated into the neck band seam and not attached in the fig 8 manner to the outside of the neck band. 
I found several tutorials and methods for creating ruffs. At the time, I used the Generator from ElizabethanCostuming.com but found that I could not get the fig 8's small enough.  They resulted in fairly large ruffs.  I then found a linkfrom the same website that stated one should use the circumference of the neck x 5inches + 2, then mark every 3/4".  I decided that this produced the proper large fig 8 ruff, but I found that I had to adjust a bit.  So I came up with my own formula so I could get uniform reproductions of my ruff. (If using hook and eye to close: (((Neck Circ+1)*3.75)+0.5)+((3*4.5)+0.25)); if using ribbon to close: ((((Neck Circumference+0.75)*3.75)+0.5)+((3*4.5)+0.25)).  I decided on the extra ((3*4.5)+.25) to account for some playing room.  The breakdown of the formula is thus:

  • The first "1" is the one inch I add to the neck circ. to give breathing room (the neck band accounts for the same).
  • Multiplied by "3.75".  This is how much fabric is needed for one full pleat.
  • Plus .5.  This .5 is the lingerie hem on either end of the ruff.
  • The extra is what I learned I needed to compete the ruff to exact measurements.  Which probably means I simply didn't calculate the original fabric amount needed for one full pleat properly.  But it works and took me hours to figure out, so I am not messing with it.
The short side measurement for the ruff is the desired distance from the neck to outer edge of ruff + 1" (For seam allowances).  I have found for my purposes 1.75" (+ another 1") creates the fig 8's that I want.  Note: the longer that distance the larger the fig 8's.

So all together.  Let's assume a neck circumference of 15 and I am closing with a hook and eye.
The formula works out like this:
15+1=16
16x3.75= 60
second half
3x4.5= 13.5 ==> 13.5+.25=13.75
so all together:
60+13.75= 73.5

The ruff length is 73.5" and width is 2.75"
To pleat:


  • Finish the outer edge and ends of your ruff material using a lingerie (1/4" turned 1/4" again) stitch. 
  • Mark the unfinished long edge every 3/4" (be sure to mark 1/2" from the raw edge). Remember to mark the finished short edges too. 
  • With knotted thread and needle, pick up the first mark, on the finished short edge. Then pick up for more marks, for a total of 5 marks. 


  • Pinch the marks slightly to create a crease. 
  • Matching the dots/marks, bring the creases together. Pull the thread taught. 
  • Stitch in place to hold the pleats. This has created 4 pleats on the opposite side of the fabric. 
  • Run the thread to the next mark using a running stitch. This mark is the first in the next set. 
  • Repeat steps 3-7 until you've created all the gathers. 
  • Once all the gathers have been secured tie off thread. 


  • Open one set of pleats out, with two pleats laying in one direction and the other two laying in the other. 
  • Secure with a running stitch. Continue to the next set. 
  • Now find the center pleat and line it up with the center of the neck band. Right sides together (you will have to decide which is your right side for the ruff) and raw edges lined up, pin in place. 
  • Baste over the pleats. 
  • Fold the band in half lengthwise. Pin in place. 
  • Pin the inner lining (this is ususally as long as the neck band and half the width) to the short edge of the neck band. Sew through all the layers on the short, being careful not to catch the ruffs. 
  • Repeat for the other side 
  • Clip corners. 
  • Turn right side out. And push out the inner corners to create a nice 90o angle. 
  • Fold the free raw edge under about the distance of a seam allowance (theoretically ½ in). You are encasing all the raw edges of the ruff and band within. 
  • Secure the edge to the ruff in which ever stitch you prefer. 
 **This was a tutorial meant to address the actual pleating to result in large figure 8 ruff.  I did not include the band in calculating the cuts.  To calculate the band: neck circumference +2 = length-- the 2 inches is 1 inch for breathing room and 1 inch for the seam allowances.  The width is (desired finished width x2)+1.  Times 2 because this is a folded neck band.  +1 to account for the 1/2 seam allowances.

If you have questions, please feel free to leave a comment or contact me directly.

Tuesday, October 26, 2010

Sewing a Straight Line

Sometimes we discover techniques that are sure to have been thought of already.  Sometimes we come up wit them ourselves.  In this case, several sources were used together to accomplish this task.

Whilst working on a corset and sewing the stay channels, I lamented that my chalk lines were simply too wide and caused too much variance.  I thought back to the days my mother first taught me to use a sewing machine.  She, after removing the thread and bobbin, had me sew a piece of lined paper to get the hang of the machine.  If I could sew a straight line along the printed lines then I could use thread in the machine.  (Thanks mom!  I still use this method when teaching others to use the sewing machine!)

Then it occured to me that a friend of mine showed me how to spray glue a piece of paper, with the desired design printed on it, to a piece of fabric.  Then sew through the paper and fabric following the printed design. Afterward remove the paper and viola!  More perfect a design you can not find!  (Thanks Lynnette!  I can certainly learn from others, and I am thankful for this idea!)

 
The paper with stay channels glued in place

STEP 1:  I went to the computer and worked out markings slightly larger than 1/2".  I used a "]" at the regular intervals both at the top and bottom of the page (I used landscape for the page options).  Then printed. *

STEP 2: I marked the corset pattern with using the printed guide from step 1.  I then connected the matching lines with a ruler.  ** I had already drafted my corset pattern and cut the fabric, but because this was an afterthought method, the draft was only half.  Now I will draft my corset patterns as full patterns**

STEP 3:  In my bath tub, I placed the fabric pieces, already spray glued together, and then spray glued the top piece of fabric.  Working carefully, I placed the paper pattern on the top-- making sure it lay as perfectly as possible.


Step 4
Sewing through the paper and fabric

STEP 4:  I sewed through the paper and fabric along my lines.

Step 5
Removing the paper--
went to water method
STEP 5: Once all had been sewn, I found that, to protect my stitching, I had to place the whole project into the tub and use water to soften the paper.  Once all paper was removed, I tossed the corset into the washer to clean-up under the stitching.


ALL DONE!  Yea!  I was pleased.  When using my older method , the stay channels weren't as even and straight as I would like.  This new method produces a much more uniform product.

* I use double the stays when I create a corset so the channels need to have enough room to accommodate the depth of two stays.


Warmest Regards,

Enhanced by Zemanta

Monday, July 19, 2010

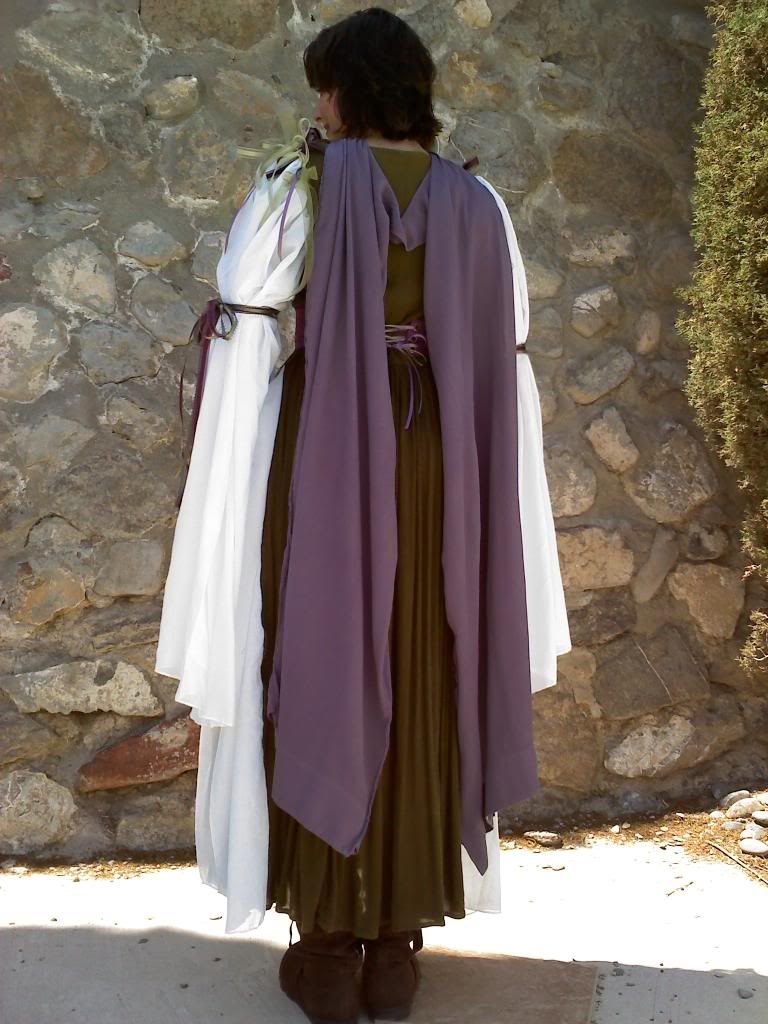
Up-cycling from Second Hand to Fantasy Glam

I was introduced to up-cycling in a round about way.  So roundabout, I can't even remember all the twists and turns.  But it hit me recently that I should consider the option to optimize and expand my customer base (right now via Etsy).

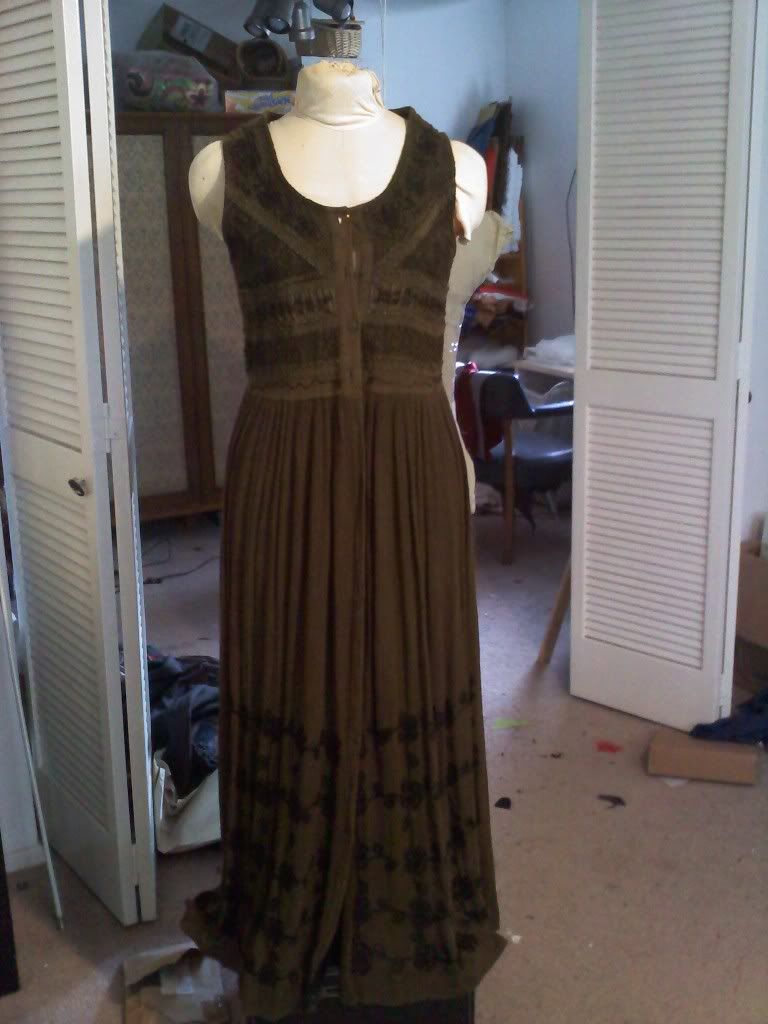
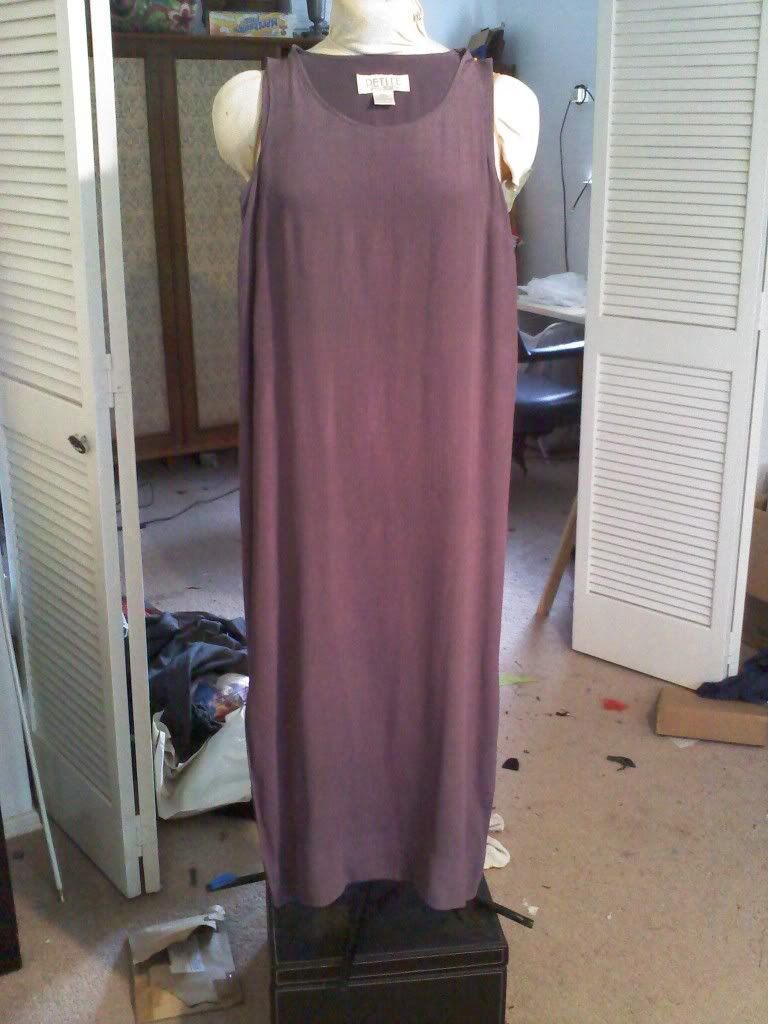
I purchased two dresses from Goodwill, one embroidered green buttoned down sheath and a purple silk sheath.  The green is a M(edium) and the purple is a size 4.
Size Medium 
Size 4


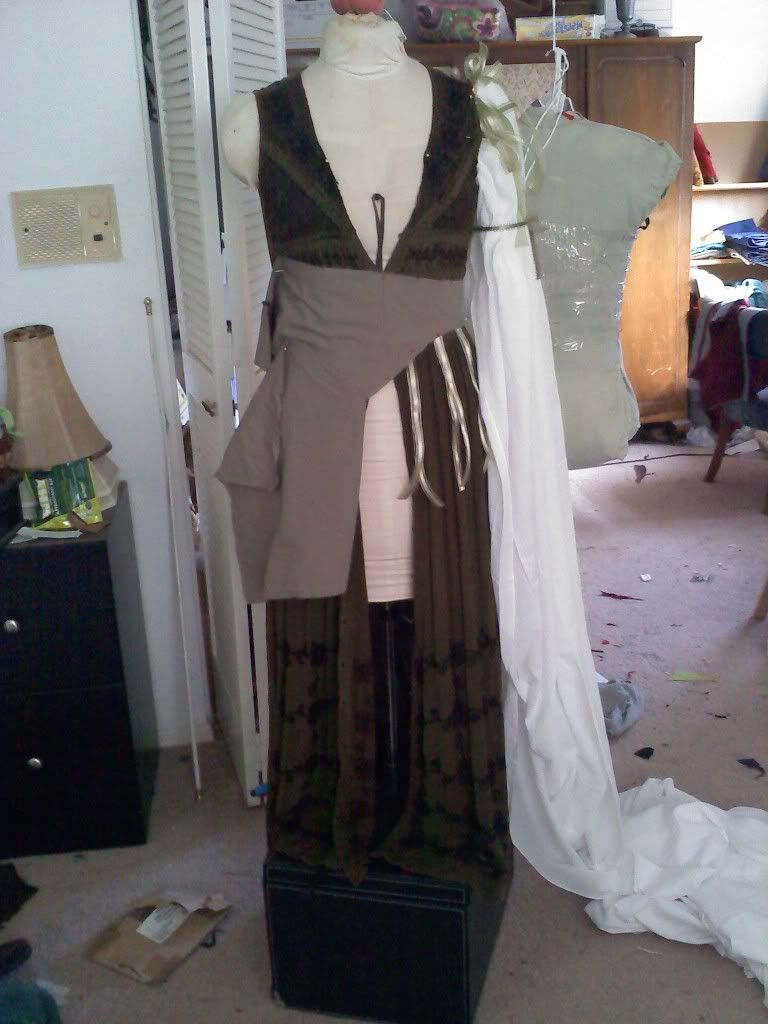
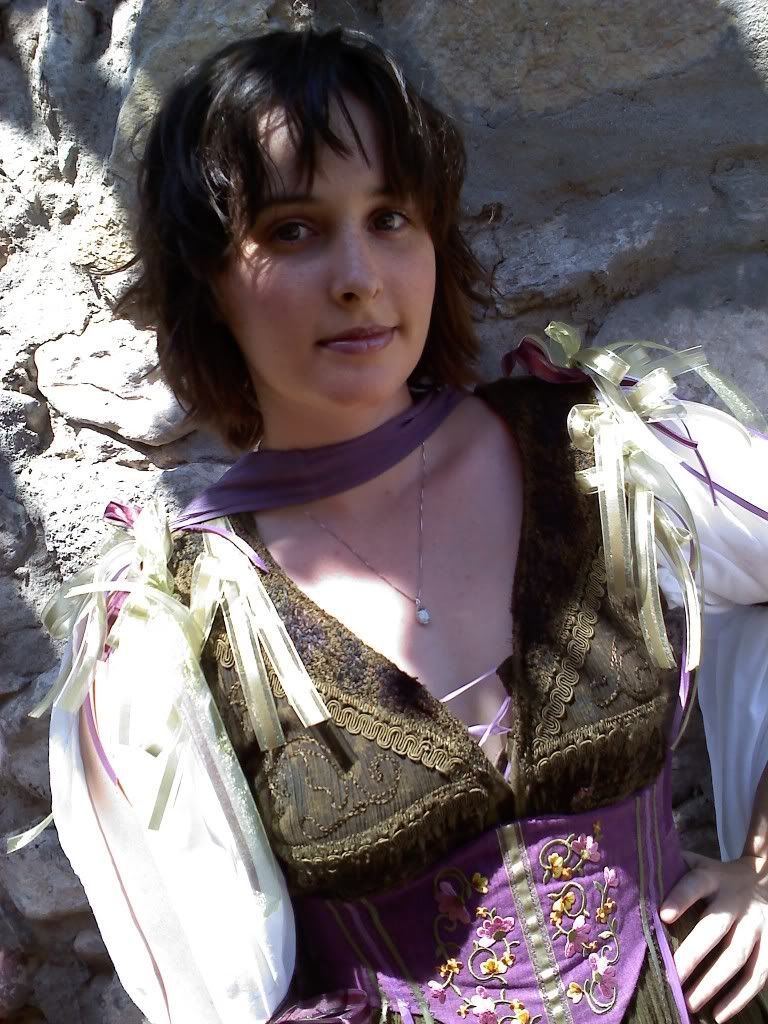
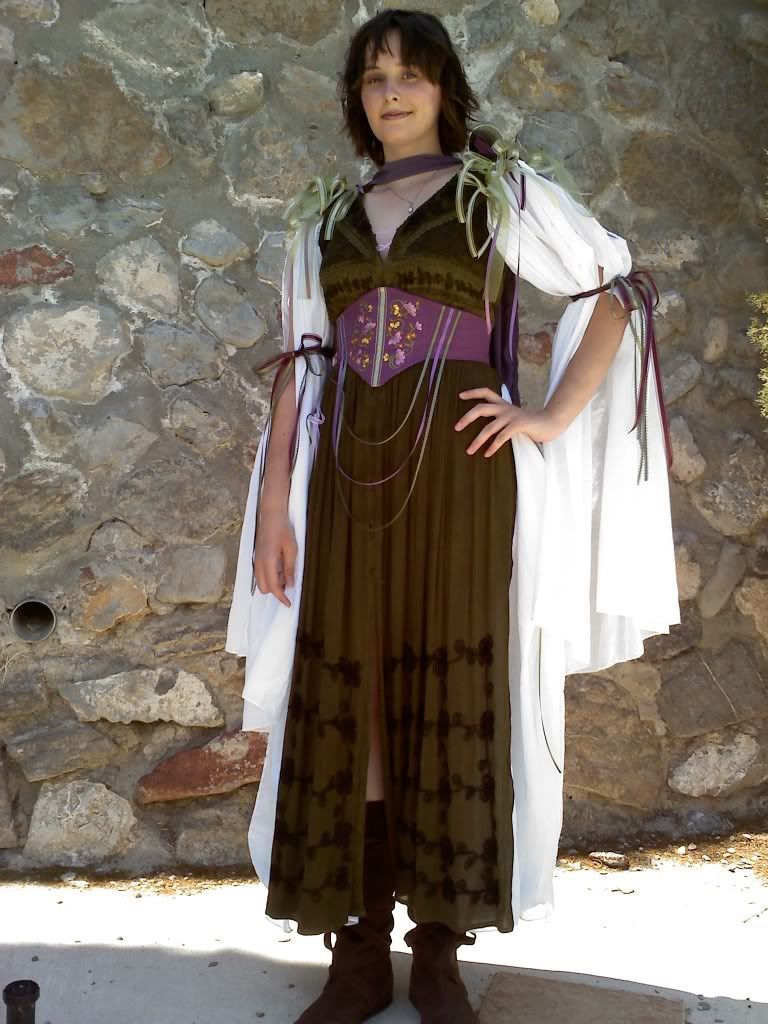
I started with the green.  Put it on the dress dummy and sliced up the side seams, popped all the buttons but two, and turned down the neckline to create a better view of the cleavage.  I then pinned in the ribbons at the shoulder (needed more-- purple) and pinned in a white gauzy cotton for sleeves.
The fabric around the waist is a mock-up for the waist cincher.
***
Finished product and notes:


(click for larger view)


(click for larger view)
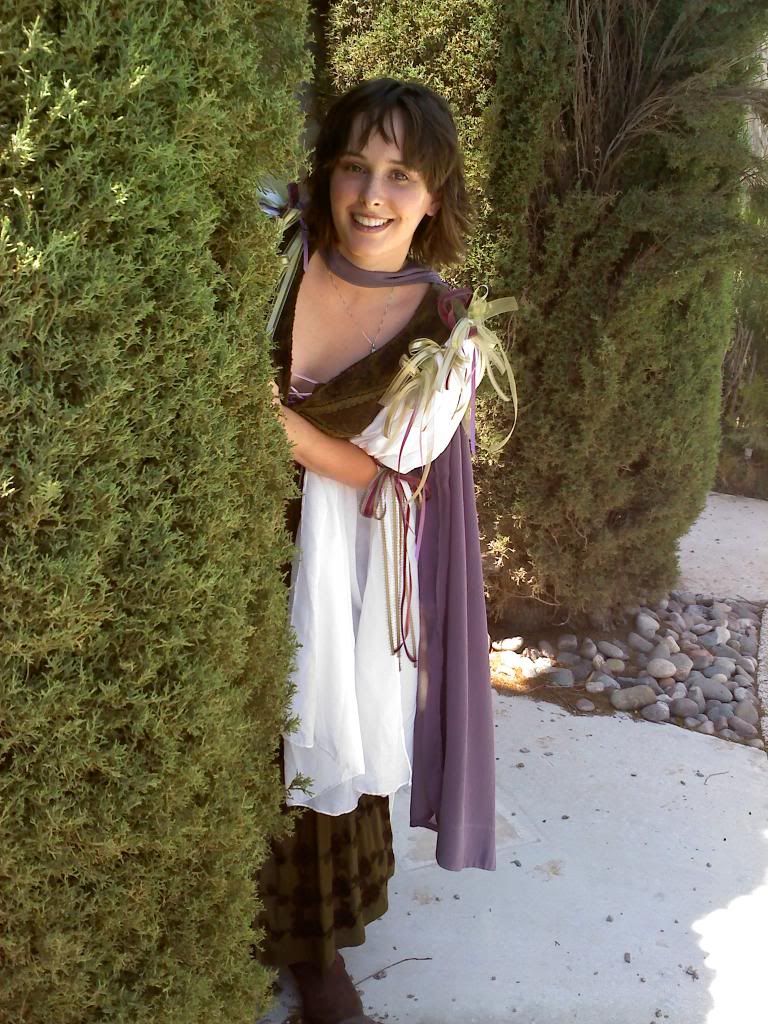
The transformation: Added cotton gauze to the sleeves and at the side seams of the green dress.  Ribbons at the shoulder and at the bicep of the arm of various colors.  Removal of the original ties in the back and cut and re applied to the front as loop holes for lacing.  A redesign of the neckline to allow for a deeper scoop.


(click for larger view)
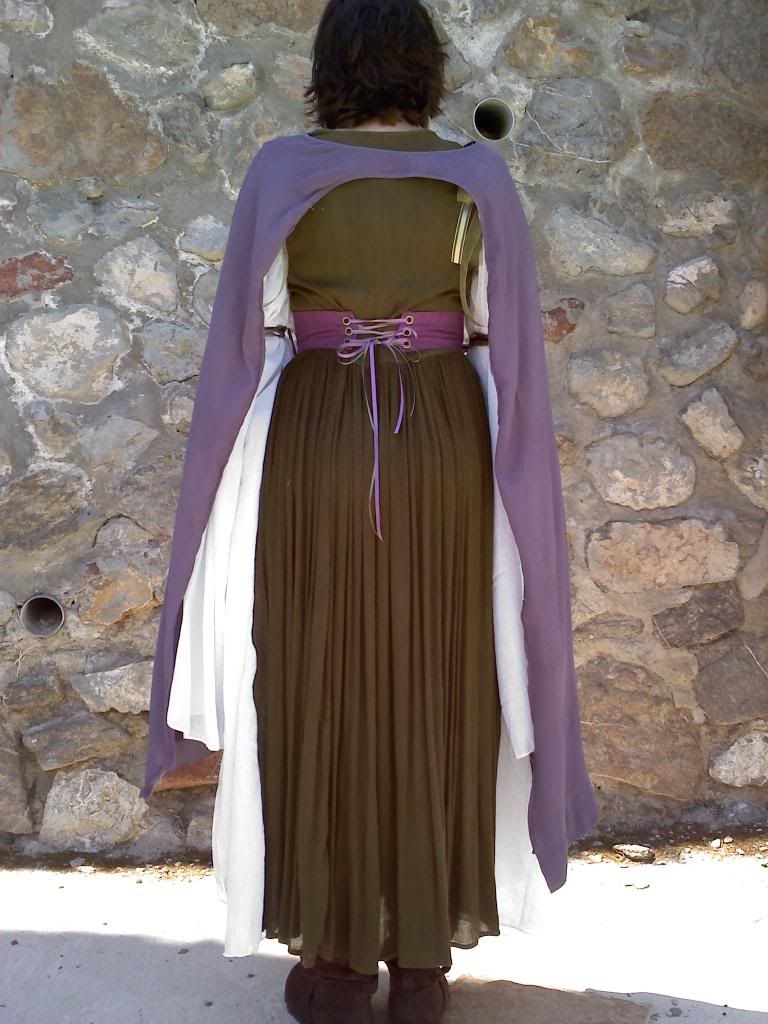
The Partial cape : cut up both side seams of the purple sheath dress.  Hung sideways from the neck to cover the arms or hang from the back.


The waist cincher was made from purchased linen/cotton blend and appliqués and lacing grommets added.

I guess that covers it, LOL!

Warmest Regards,

Enhanced by Zemanta

Friday, April 23, 2010

Canions Come Alive

Canions


To do:
  • draft on paper
  • transfer to waist fabric
  • cut
    • main fabric 2 on fold
    • lining 2 on fold
    • cut on bias
  • apply trims and decorations
  • sew
    • main
    • lining
    • waistband
  • hand sew
    • leg bottoms
    • waistband
    • closures


Notes:
The construction of canions can be daunting as there is little forgiveness.  I made this pair for my 9yr old son.  I needed to stick with my initial thinking on ratios, inches added to the measurement--which I didn't do.  For the:

  • Waist:   1" seam, 2" give
  • outside seam (waist to knee):   1" seam, 2" extra
  • Inseam (apex crotch to knee): 1" seam NO extra
  • Hip:  1" seam, 2" give ** Should have added 3" **
  • Circumference of quad right above knee: 1"seam, 2" give


As a note the wise: when drafting the back side of the canions, make sure the back takes into account the bubble of the butt.  So it should be higher than the front.  I have experienced this before, and forgot to account for it.  


Pickle's canions fit perfectly except in the back where I could have added about 3" more to the height to accommodate his rear.


Warmest regards,

webpage

Tuesday, April 20, 2010

Doublet Darings

I have made quite a few doublets, mostly for my boys.  With diligence I can usually get a doublet and paned slops/ britches done in about 10hours.

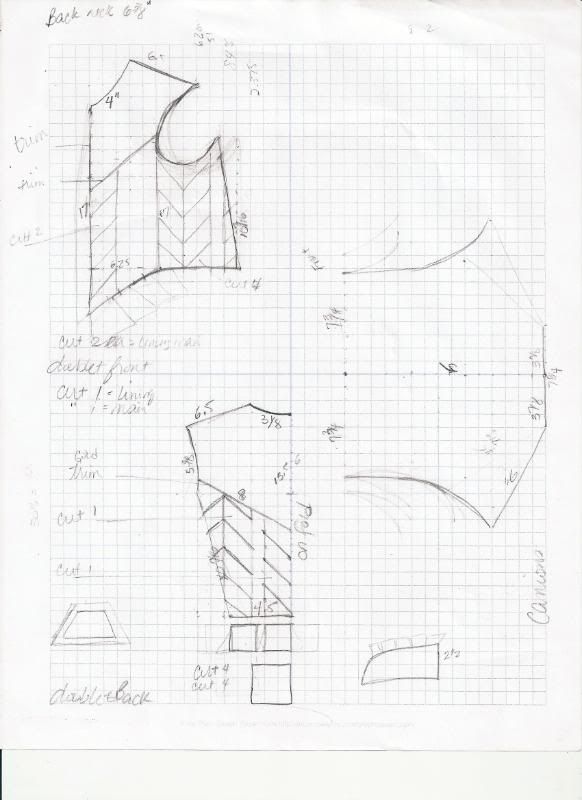
What I have begun to do, however, is take measurements then draft onto grid paper.  The drafting takes about 2-3hours, because I dally while doing it.  Instead of reinventing the wheel, I find a doublet either on line, from Janet Arnold's "Patterns of Fashion", or some other source, where I can get ratios down.  For example, for a particular cut of doublet I will decide what the neck back ratio to bottom (waist) seam is.  Then I apply my son's measurements with the ratios.


 This was done with Janet Arnold's "Patterns of Fashion: c1560-1600", pgs 79-80, 1590-1600 Jerkin.  I am experimenting what tabs I want to apply.  I have also decided to go with the less technical method of producing a collar-- wait until I get to the point of applying the collar then measure it from the near finished product.  I tend to have a n issue with getting collars to the right side, even when I add 1in for seam and 1.5in for room.

 
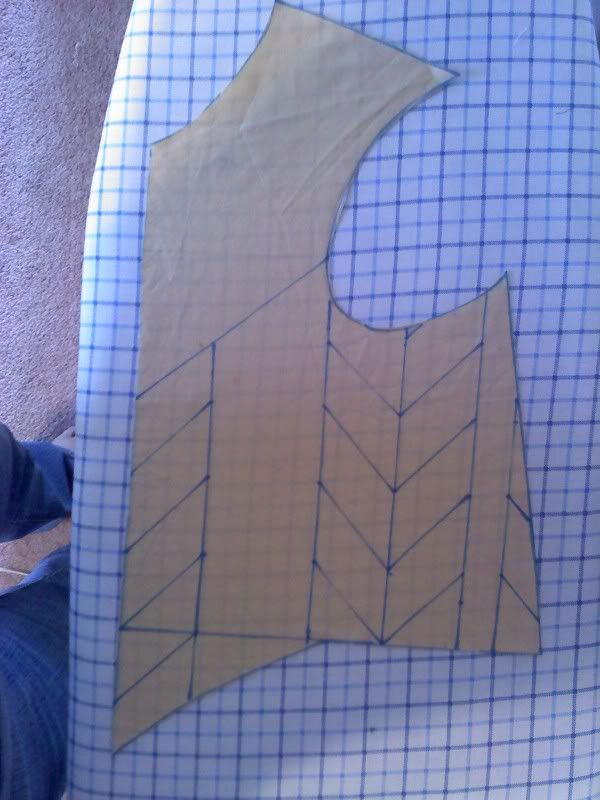
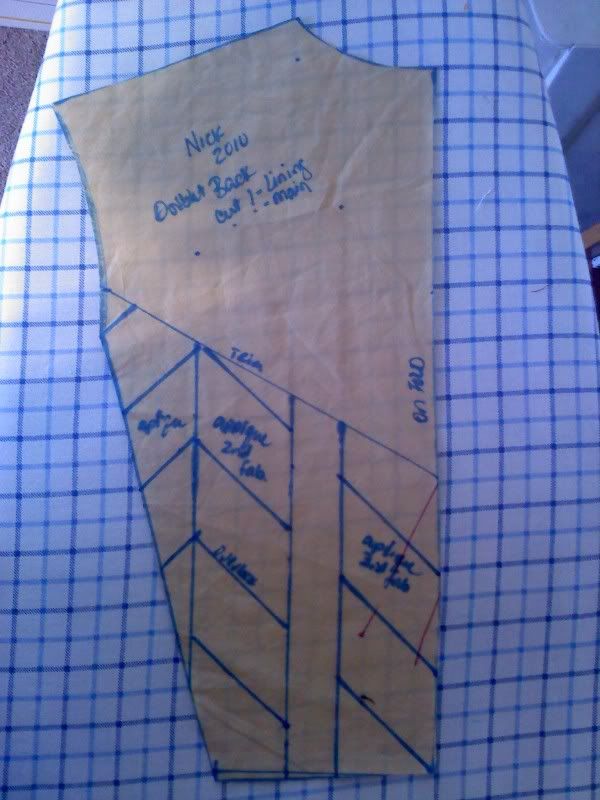
The above pics are the patterns created from the drawing on grid paper.

The chevron design has a contrasting fabric segment that I will apply as an applique.  Then I will run an overlock sticth along the chevron design.  A trim (in gold) will complete the design by running along the "V" bottom and on the sides of the contrasting fabric.  When cutting the applique I will, instead using chalk or other marker, use fray check to mark the edges, then cut. I then use a spray glue to hold the applique to the main body before sewing it on and running the chevron overlock stitch.

With regards to the amount to add to the measurements taken, Janet Arnold states at the end of her book "Patterns of Fashion: c1560-1600" that one should add anywhere from 2-8", depending on what padding and clothing is worn underneath.

For Pickle's (the one I have demonstrated here) I added anywhere from .5-2" (on top of the 1" for seam allowances).  If it was a length, I added .5-1".  If it was a width or circumference I added up to 2". The only exception was the armpit, it ended up being almost 5" larger than the beginning measurement.  I think this is because the arm moves forward or naturally rests forward which means the comfort level will demand it be larger.  

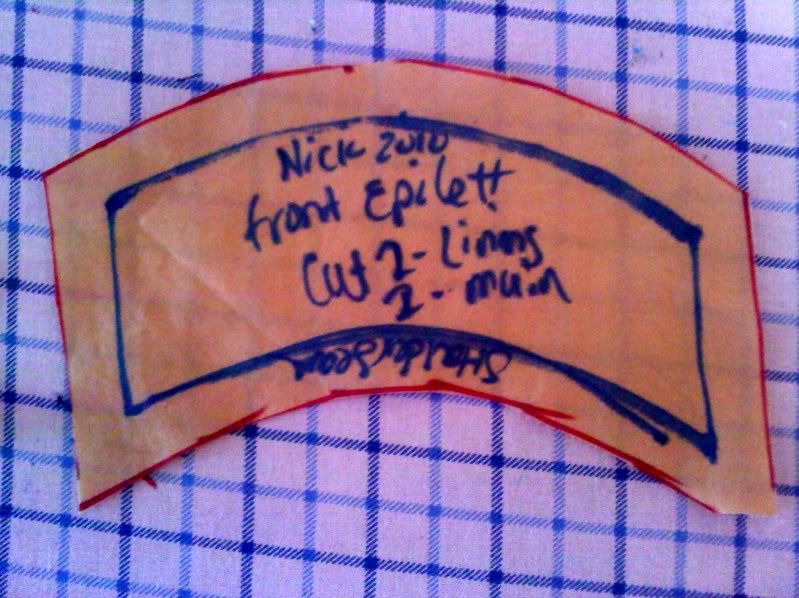
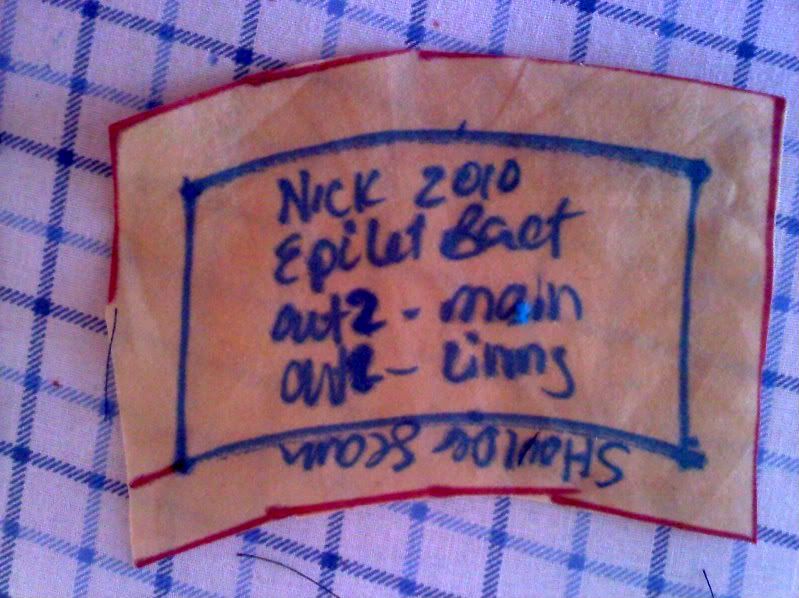
Epilets.  For Nickolas' I chose a split epilet.  No neat notes here except that make sure the curve on the inside curves in (concave).  


The front portain starting at the shoulder seam.


The back epilet starting at the shoulder seem.  This reaches to the gold trim on back

I did put a skirting on, but did not take notes or pictures.  And I seemed to have not given enough of an outer curve.


Warmest Regards,

Thursday, March 18, 2010

Farthingale Fathomings

A farthingale, also known as a hoop skirt, helps to create the idea of floating when a woman is walking.  It was reserved for the noble class, though, a wealthy merchant could pay the Sumptuary tax and wear a farthingale of a modestly sized circumference.

The hoops could number anywhere from 3-9 tiers. I generally just do the 3, simply to save on cost.  I haven't yet found more to be necessary.  There are two methods I've used to create the channels for the steel hoops: a. I sew twill tape along the path or b. I create channels simply by sewing them into the fabric.

I have also used two methods to form the skirt portion itself: a. I have used a gathered method, whereby I merely take a length of fabric (the length is the total of the bottom tier circumference +1" for seam), ply whichever method I wish to the channels then sew the seem up.  I string a string through the waist channel, hooping wire through the hoop channels, then adjust the gathers.  This method leaves a nice impression on the top skirts as the gathers kind of hide the hoops.  But it is frustrating in that the gathers shift.

b.  The other is to create an infinite gored skirt, sew in/on the channels, then insert the hooping wire and string.  This is nice because the farthingale keeps its shape rather nicely.  The downside is that it very easy to see the hoop tiers on the outer skirts.


Warmest Regards,